
Refretting an electric guitar
Here we describe the various stages of refretting a Valley Arts Custom Pro (a model used by Steve Lukather) which came to us with serious problems.
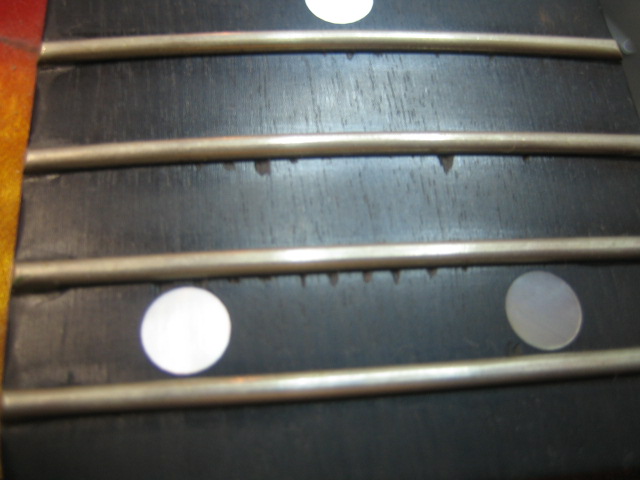
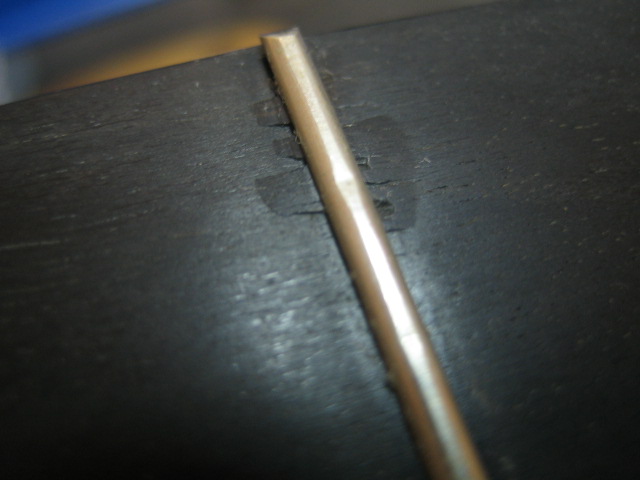
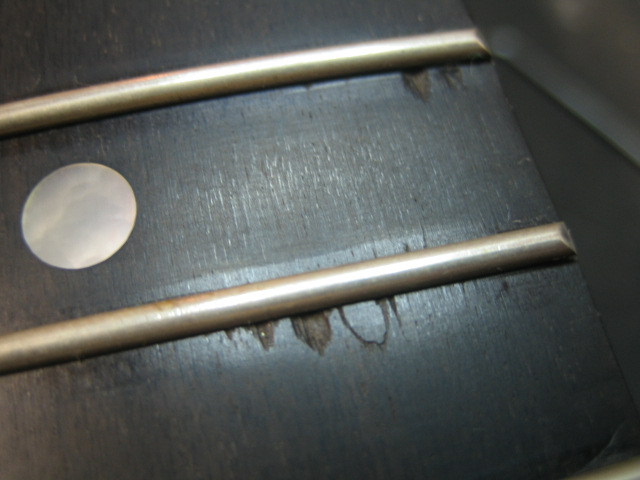
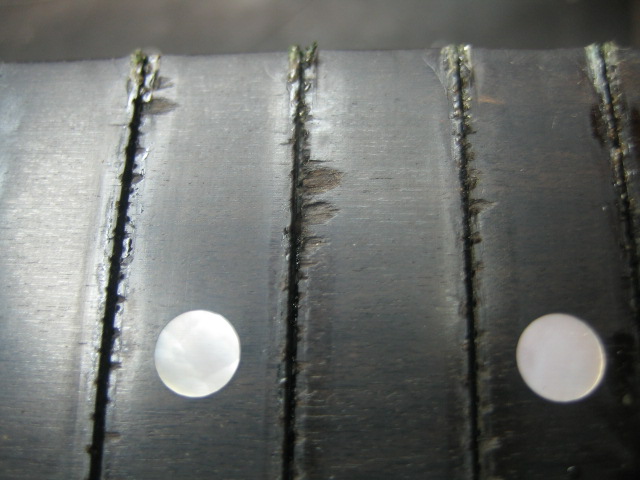
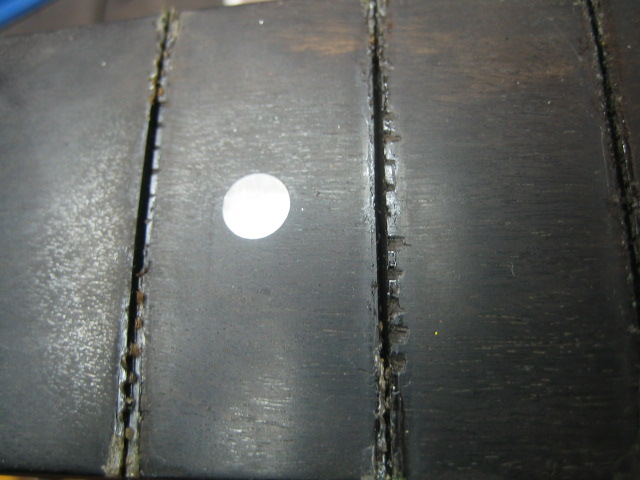
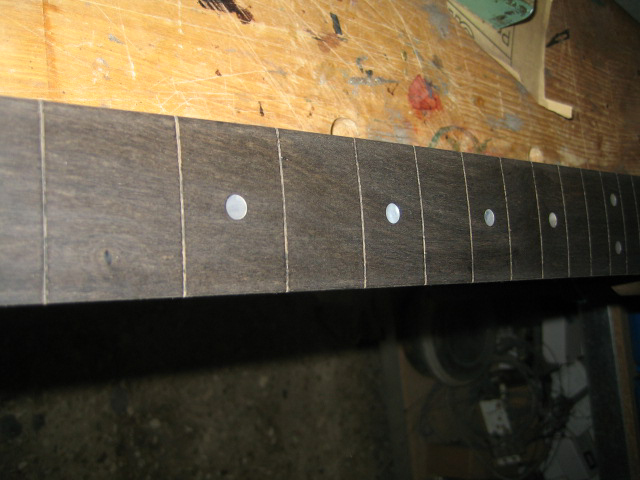
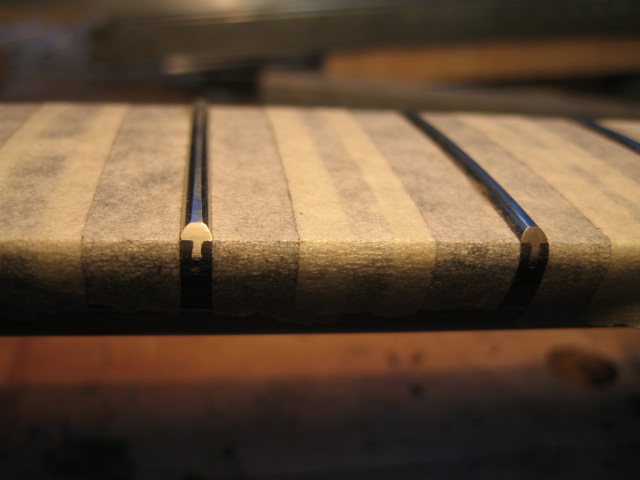
1. Initial condition of the guitar
In these first four photos you can see the state of the fretboard when it came to our workshop. All kinds of chips and nicks are clearly visible, the frets are poorly seated and and the ends are lifting. Apart from these problems, the guitar had insufficient relief in the lower part of the fingerboard.
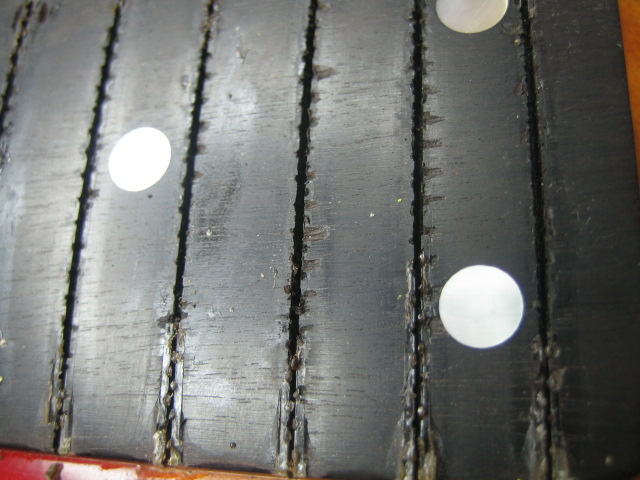
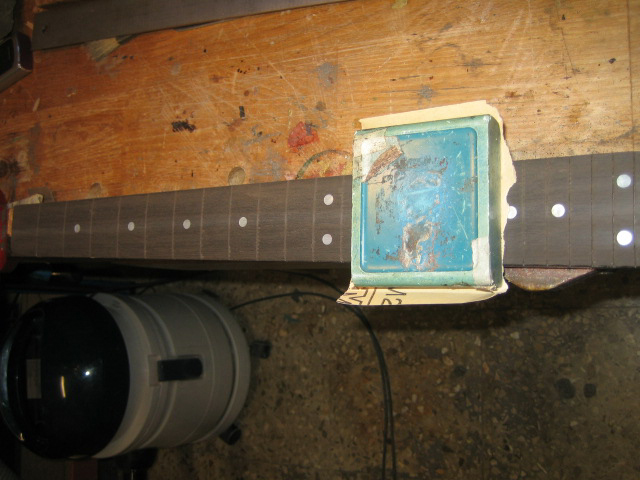
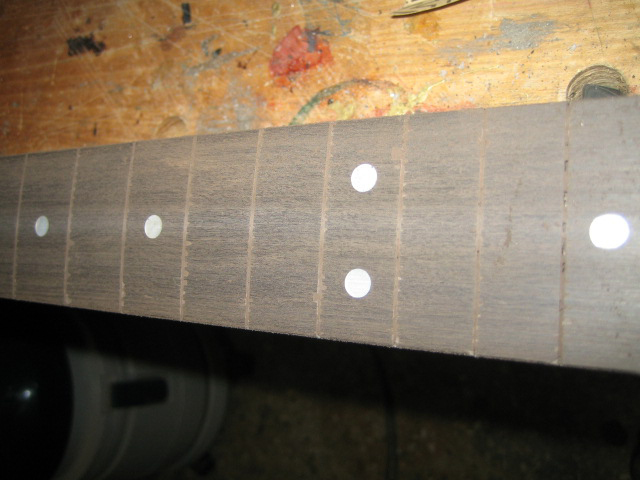
2. The condition after removing the frets
Here you can see the general state of the fretboard after removing the frets. All the damage was caused by the person who carried out the previous refret either by using inappropriate tools or incorrect techniques.
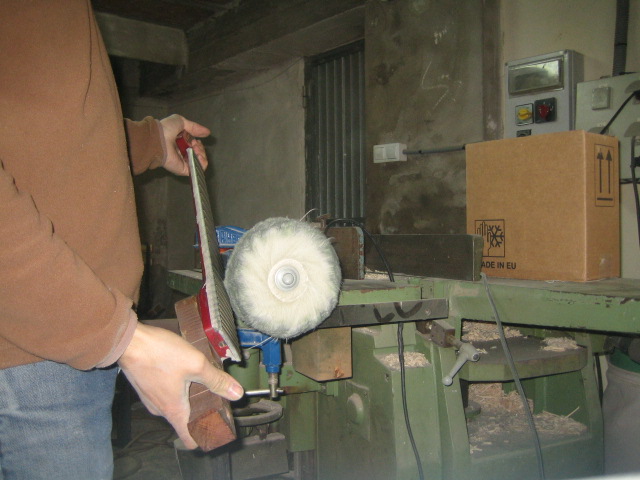
In the following photos you can see the various stages of the repair process.
3. Leveling the fingerboard and elimination of the relief problem
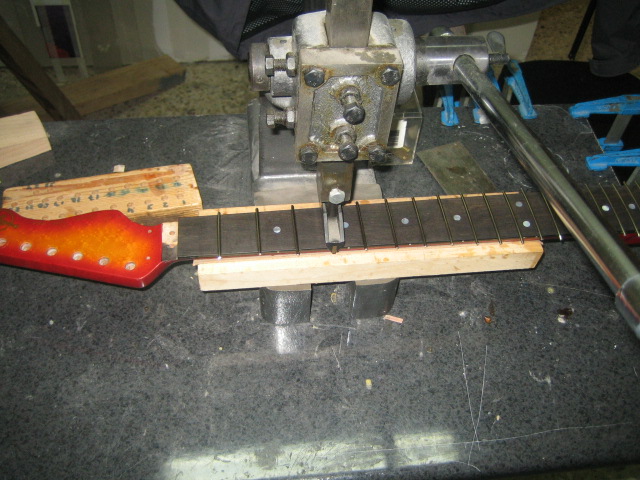
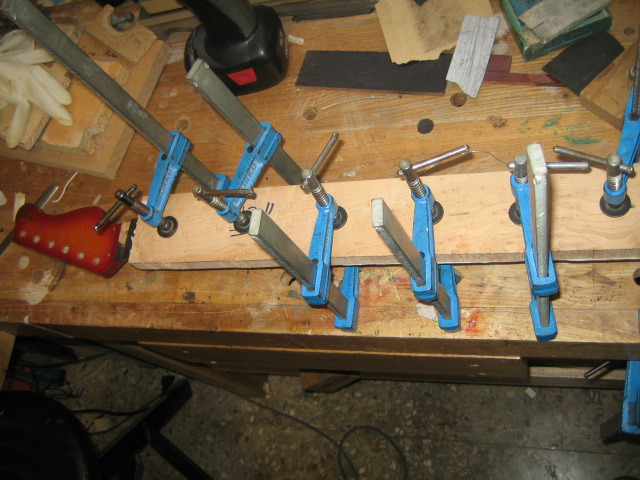
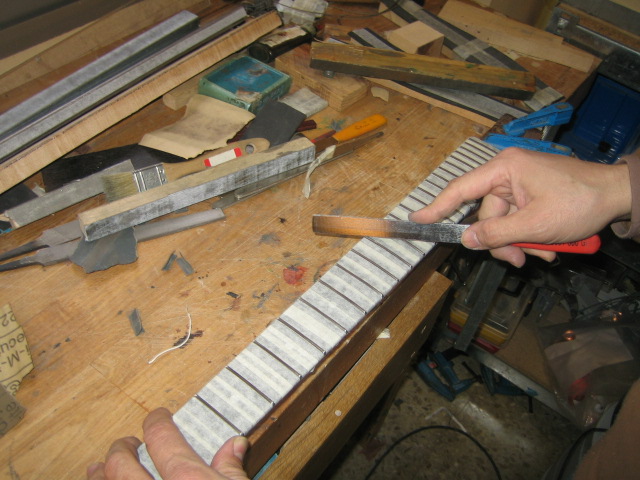
4. Preparation and fitting of the frets.
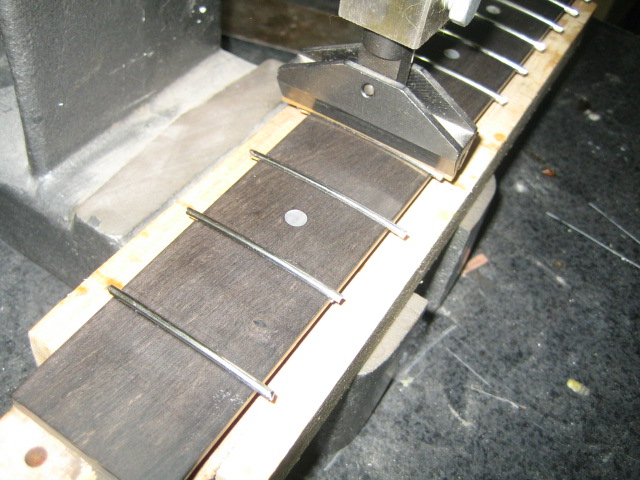
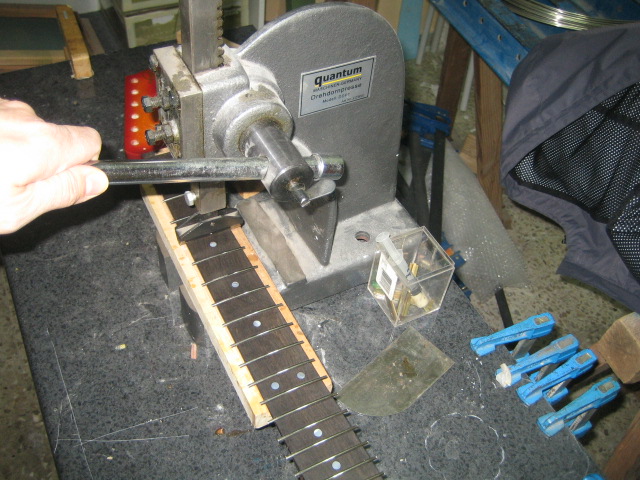
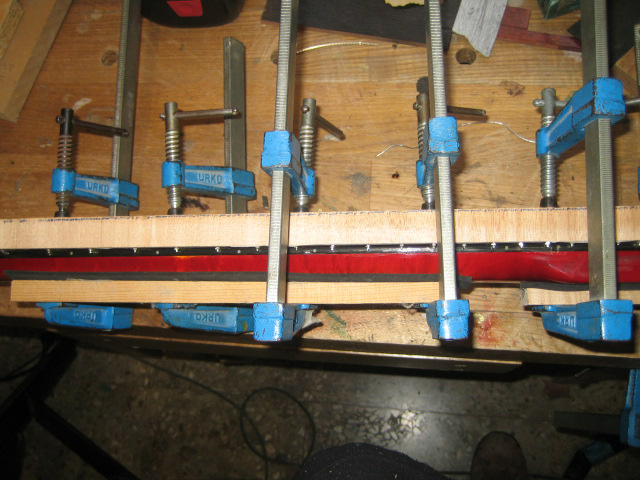
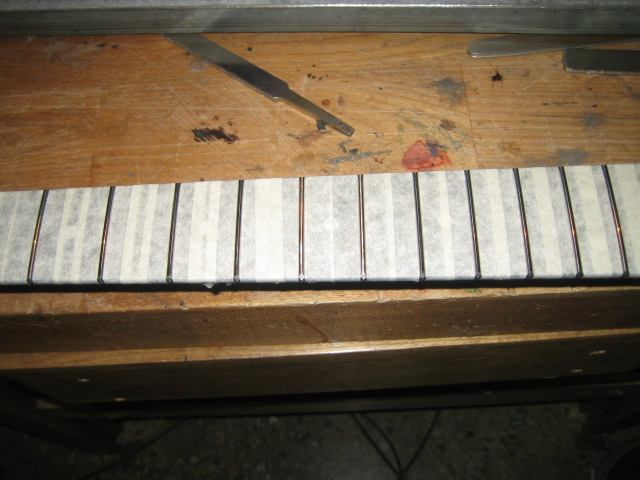
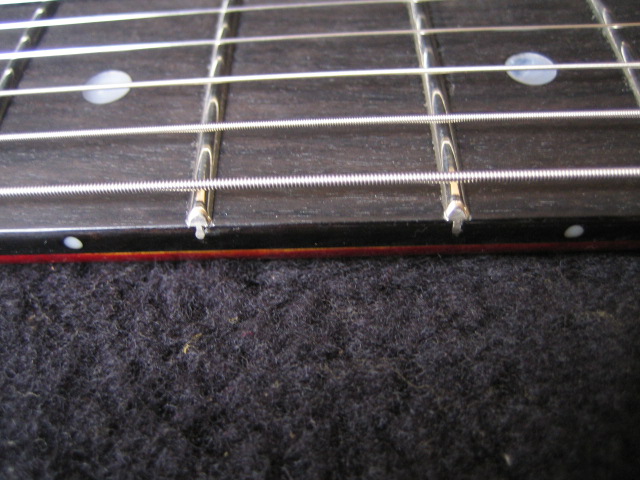
5. Gluing frets and trimming the excess
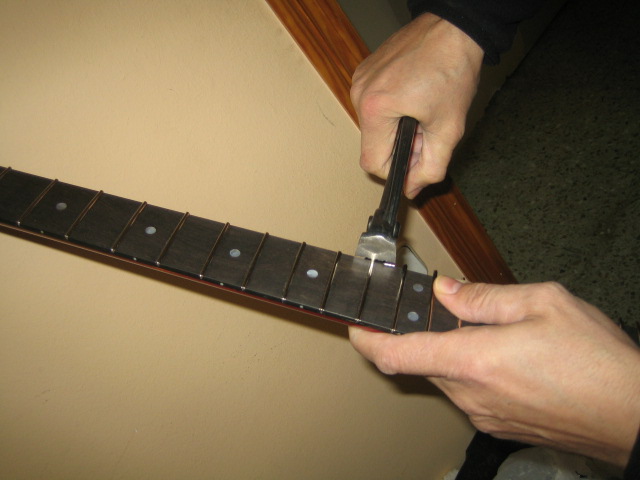
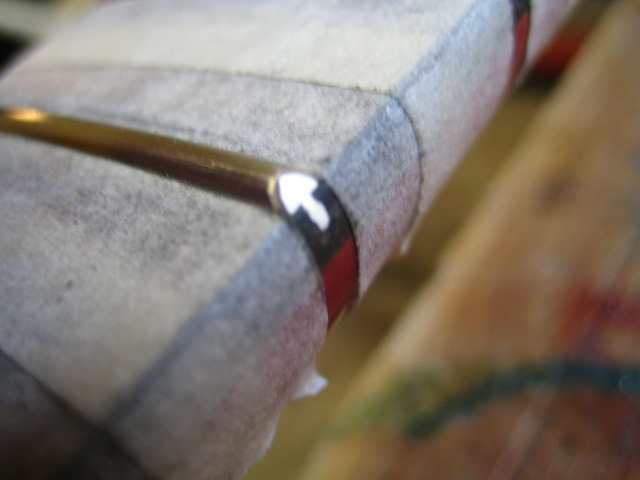
6. Finishing off the fret ends and removing sharp corners.
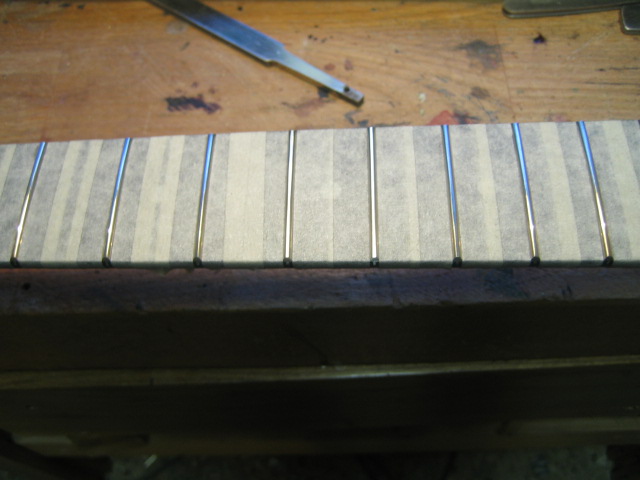
7. levelling the frets.
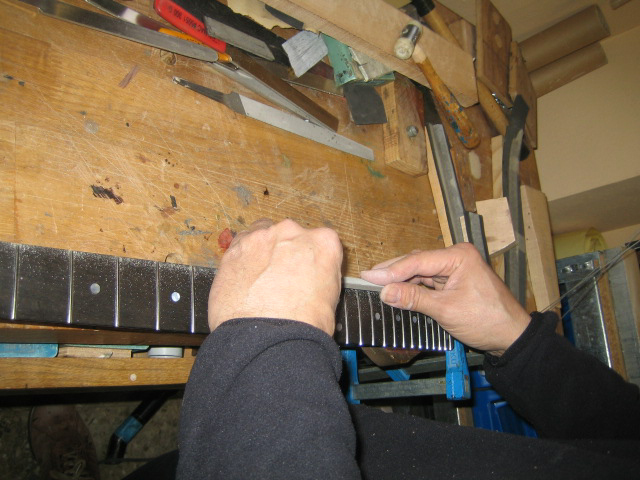
8. Fine sanding to remove any marks, then polishing and nourishing the fingerboard.

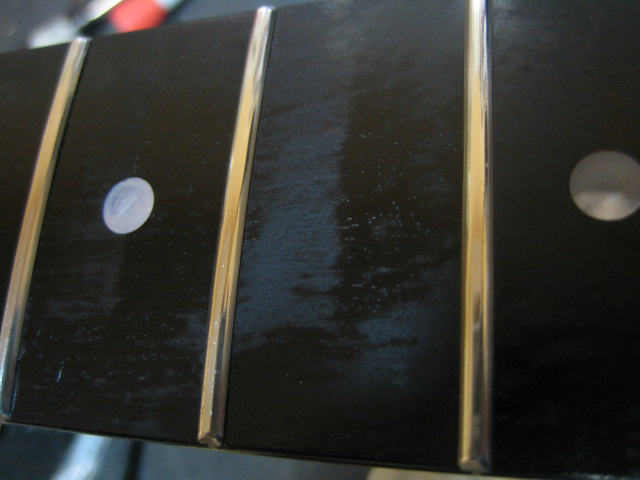
9. End result.
