Broken electric guitar headstock
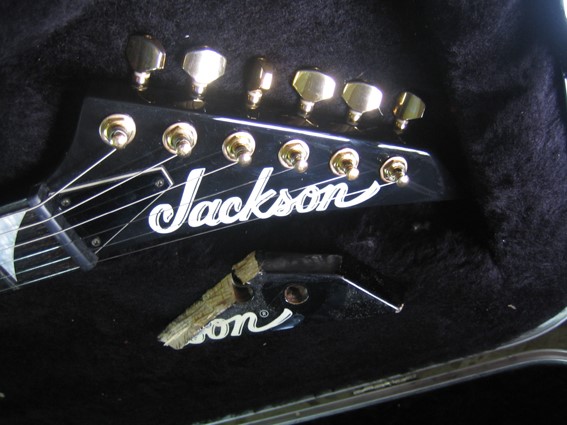
This guitar came into the shop with a poorly-repaired broken headstock tip.
The owner tried to repair it himself, but given the difficulty of placing the clamps correctly it slipped during gluing with poor results.
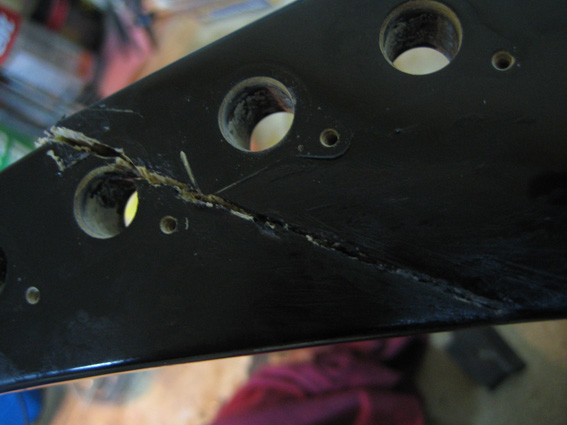
After evaluating the breakage, we unglued the defective parts.
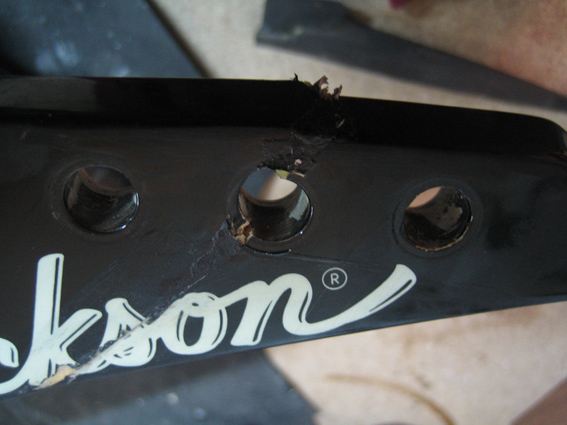
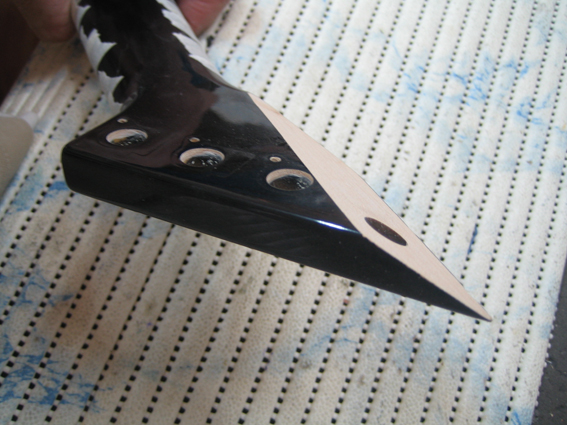
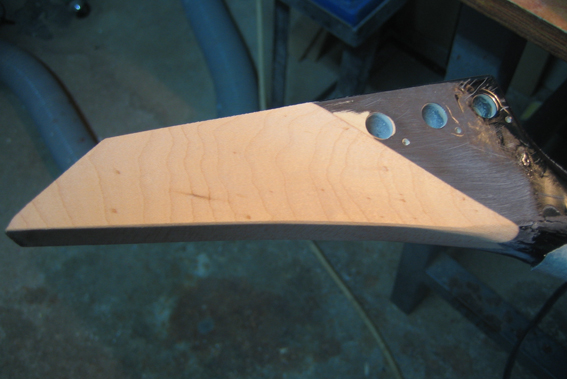
Because of the remains of the old glue and irregular edges, cleaning and re-gluing was impossible so we opted to cut the main part with an angled blade to give more gluing surface. By doing that we get a stronger and more rigid joint.
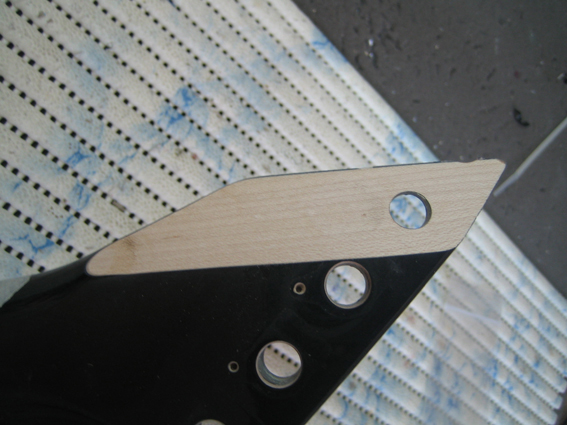
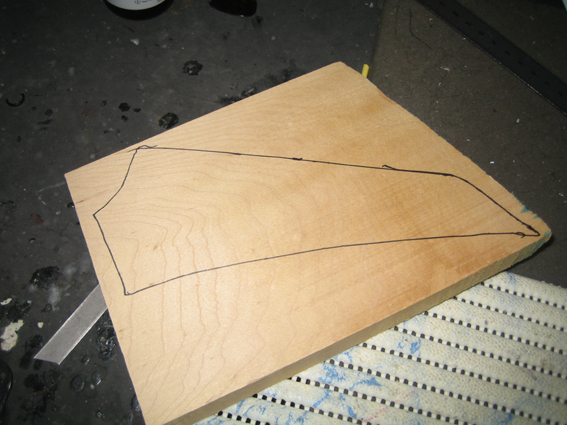
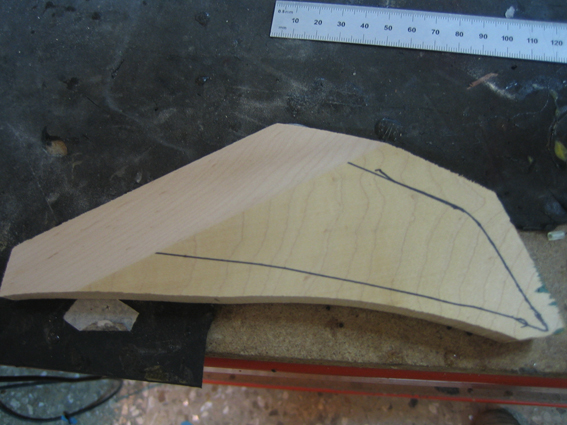
Next we seleced a piece of hard maple to make a new tip for the headstock.
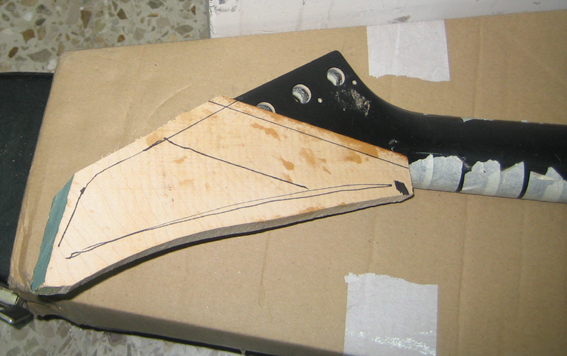
Once that was done we drew the approximate shape of the headstock and cut the new piece at an angle to match the rest of the headstock.
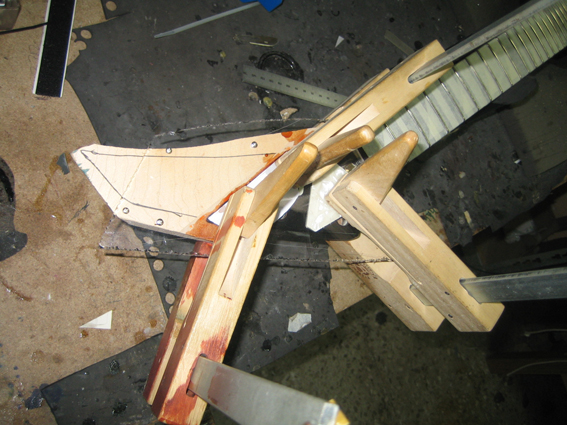
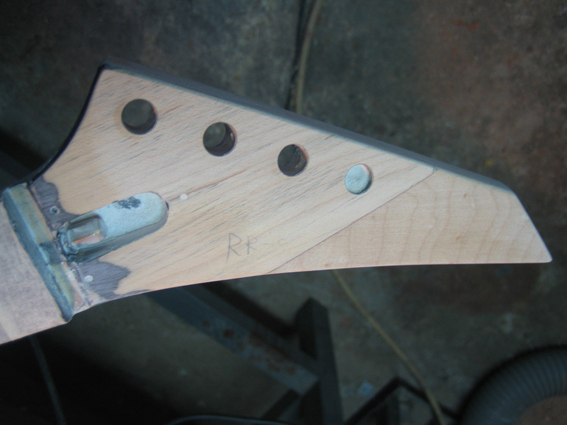
After adjusting the parts and checking the placement of the clamps (one of the most important parts of these repairs ), we proceeded to glue the new piece to the headstock. As you can see in the photo, epoxy glue was used for this.
Once dry (after a couple of days), we removed the clamps and began to shape the headstock. To remove the excess wood we used a static belt sander, chisels, files and a sanding block.
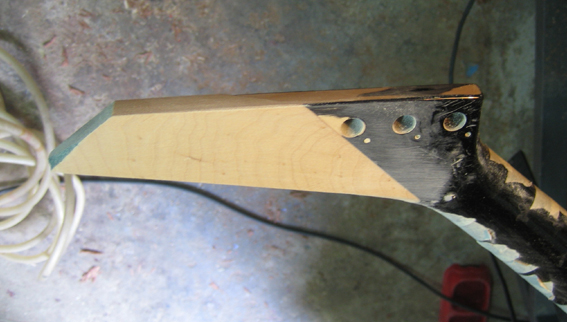
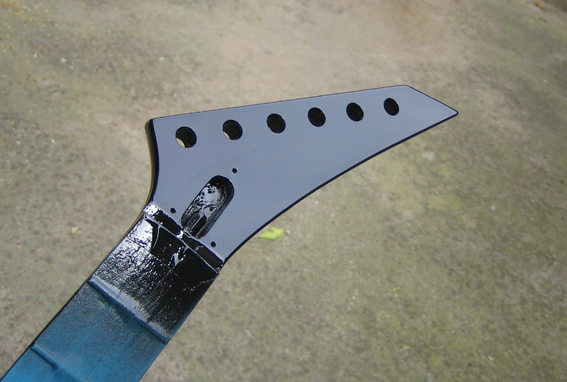
So after all this work we finally had the headstock almost ready. We drilled new holes for the machine heads, gave a finishing touch with sandpaper and it was ready for painting.

Finally we started repainting to return the guitar to it's original appearance. First we use a clear sealant to followed by several layers of black.
Once we had a good black colour base we added the brand logo. When dry we then added clear varnish to cover and protect the logo and give the final finish to the headstock.
After allowing it to dry for a few days we polished by wet sanding to give the instrument its original mirror finish.
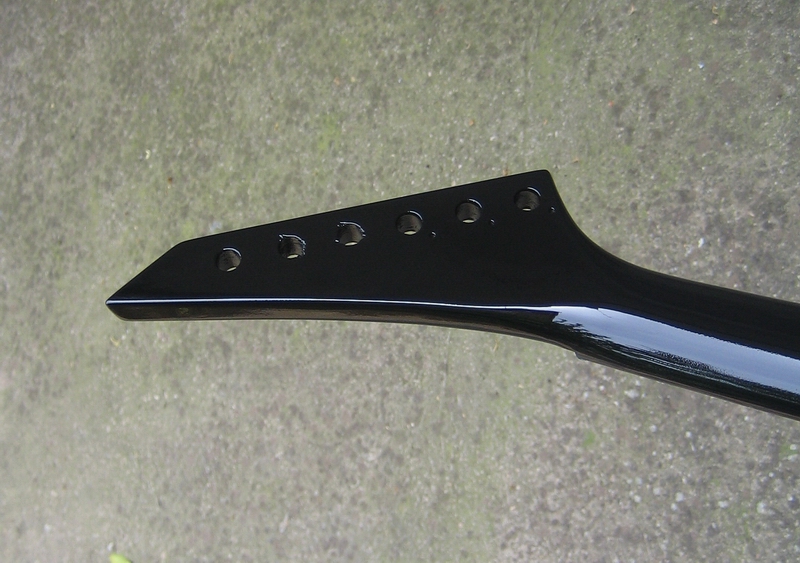
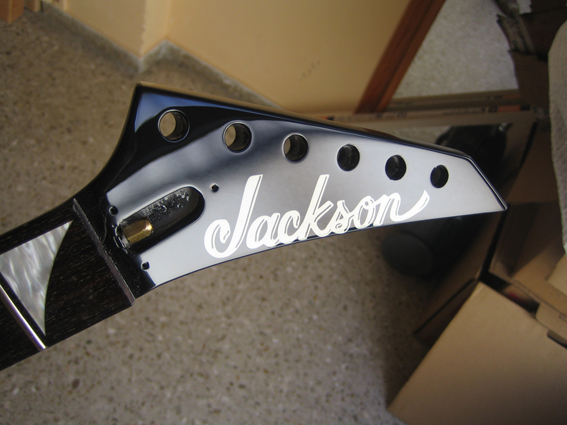
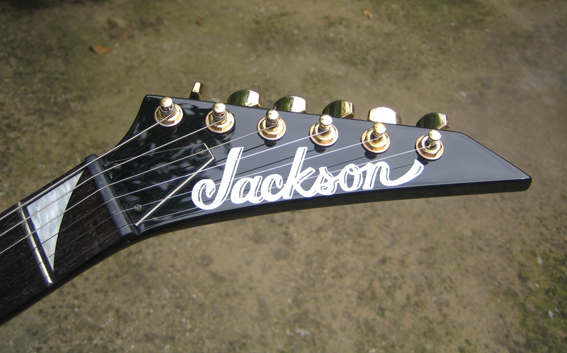
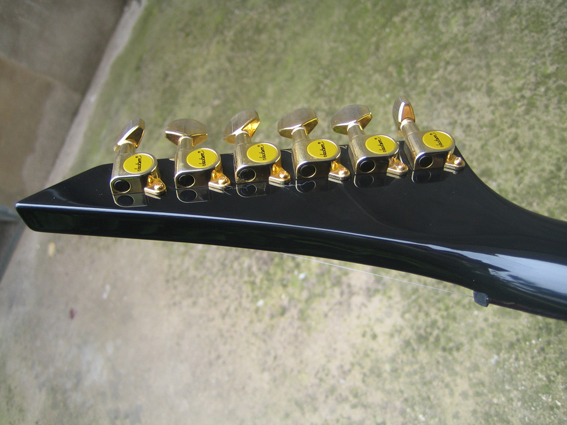
We then put the guitar back together and set it up, leaving it as though nothing had ever happened. Here's the end result of the repaired headstock, complete with hardware and strings.